The Volt Ohm Meter is more commonly known as "VOM". It is a type of tool where you can use it to gauge electrical properties such as Resistance, Voltage and Current. There is another version of this tool which is known as the Digital Multi-Meter or DMM. However, it is still preferred that you make use of the traditional VOM especially when you are a student or hobbyist starting to learn the field of electronics.
So how do you use a Volt Ohm Meter (VOM)?
Before we can learn how to use this type of tool, you need to know the parts and their functions. Below are the basic parts that you will most likely going to make some adjustments before you can begin reading values from your circuits:
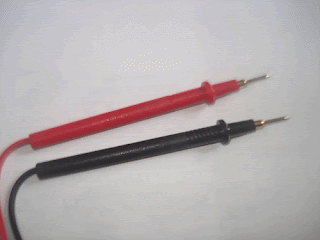
Test Probe
You will have two test probes that are distinguished in their Red or Black color. The Red Probe indicates the positive terminal while the black denotes the negative terminal. It is important for you to know on the part of your circuit the location of the ground since it is where you will most likely going to connect the negative test probe. Connecting the probes in reverse polarity could damage the equipment and it will no longer produce accurate results.
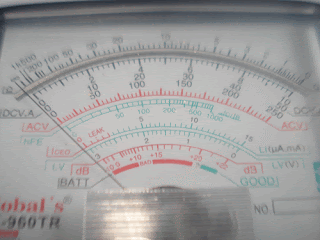
Scale Meter
The Scale Meter consists of numbers and series of gradations. This will provide you a reading result with two decimal places. Reading is done by checking on the meter-pointer on the scale. The pointer should fall under a certain range of level then count the series of gradations to the exact tip of the pointer. You may then multiply that value on the value of the Selector Scale that you have selected.
Selector Scale
On the middle part of the analog meter, there is a huge rotating knob and this is the Selector Scale. This is the first part of the tool that required adjustment before use. If you are going to conduct a reading about voltage then you need to turn the knob on that scale. Beside from the Voltage (DC and AC), you can also do a reading in Amperes and Resistances.
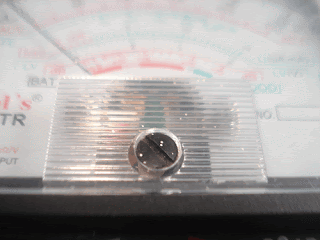
Zero Corrector
Just below the Scale Meter, you will find there a small rounded button. This is the Zero Corrector. It is used to adjust the meter-pointer to point at the exact starting level. Adjusting it will require you to use the flat screw-driver and you should be gentle when making your adjustment.
Zero Ohms Adjust
Reading resistances will require you to adjust the Zero Ohms Adjustment knob. It is simply a small rotating knob that you can easily find on your VOM. Normally, it is located on the lower right bottom of the Meter Scale. Before reading resistances, you need to make sure that the meter-pointer is set at the exact starting level. Failure to make this adjustment will result in an inaccurate values.
Steps in using the Volt Ohm Meter:
Depending on the type of electrical properties that you need to read, you must first adjust the Zero Corrector adjustment setting. It is often adjusted by the manufacturer but there are some instances where they are not. Take note, you cannot adjust it by hand where you need to make use of a flat screw-driver.
The next step is to adjust the Selector Scale. If you wish to read Voltages then you need to rotate the knob and select the option. There are two types of voltages which are DC and AC. The DC levels are used to measure "Direct currents", voltages with polarities. The AC levels is the opposite of DC and stands for "Alternating Currents". The same procedure applies when reading Currents and Resistances.
After setting-up those necessary adjustments, you may now hold your test probes with your hands and begin testing some areas in your circuit. Good luck...


No comments:
Post a Comment